Awesome Tips About How To Draw Hair On Gimp

Gimp Tutorial - How To Create A Custom Hair Brush! Youtube

Making Hair Textures | Gimp *updated Version* - Youtube


Coloring Anime Drawings On Gimp - Part 3 Hair And Ears Youtube


How To Draw Hair! | Hair, Gimp Tutorial, Photoshop Tutorial

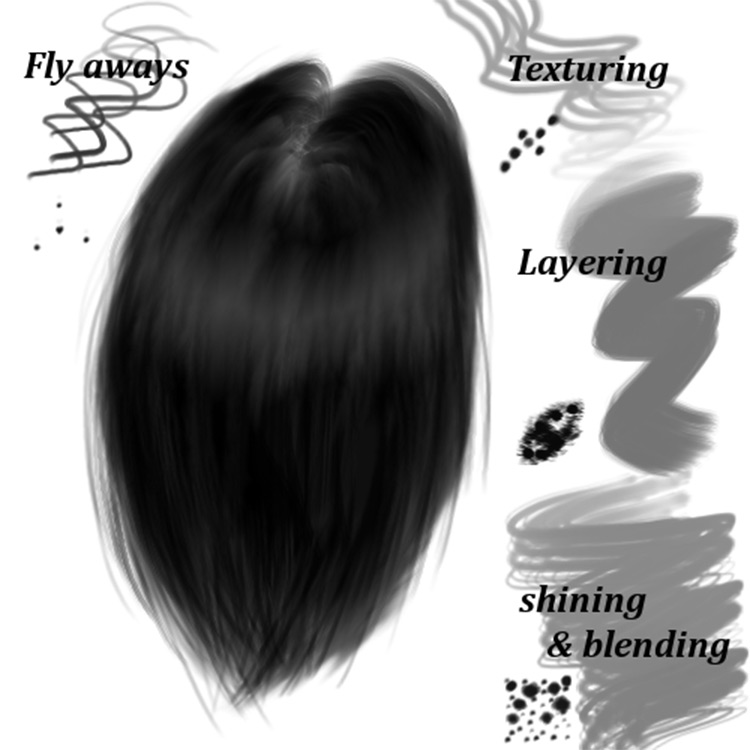
Shading and highlighting with the ink tool.
How to draw hair on gimp. Pay attention to where it falls near the ears and along the temple and forehead. Grab the bucket fill tool (shift + b) and click inside the selection the final step is to deselect with. Although if you have the right tools & the right brushes this makes it a lot easier.
This post is going to be about how i draw my hair in my edits using gimp, resources and a youtube video will be attached to help you along the process! Open a new blank canvas in gimp. Touch device users, explore by touch or with swipe gestures.
A lot of people are asking me to do up a tutorial on how to draw. When autocomplete results are available use up and down arrows to review and enter to select. A tutorial for taking high resolution portraits of your avatar's face or items in second life.
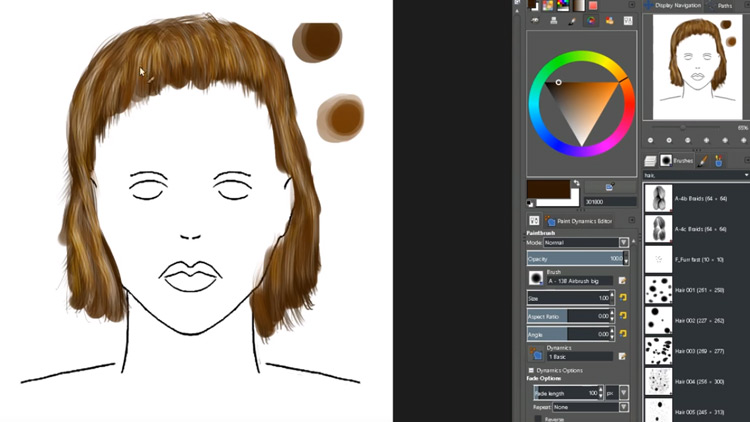
Follow the steps below to find out how it’s done: Have a peek at this free. Once you’ve established the general shape of the head, lightly draw the outline of the hair.
At the top of the layer area you change. To begin you should have your work already colored (preferably on a separate layer). Zooming, windlight settings, and also how to save large file s.
You should see a new layer pop up on the right. Create a new layer by clicking on the “+” icon. At the top go to layer > new layer.
Go to “tools” on the top menu, and. With the rectangle select tool (keyboard shortcut r), draw out a rectangle on your canvas. Now above your color layer, make a new layer.

Painting Hair In Gimp - Youtube
Updated Hair Tutorial In Gimp By Darkenergie On Deviantart

![Hair Drawing In Gimp [Pic Heavy!]](https://2img.net/h/24.media.tumblr.com/cc20554716c3660d5a10f59a25e28ced/tumblr_mm6rtojXFa1ribwz0o1_500.png)
Hair Drawing In Gimp [pic Heavy!]

Hair Tutorial With Gimp - Youtube


The Best Gimp Brushes You Can Use For Digital Drawing And Painting
Best Gimp Brushes For Drawing & Painting (all Free)

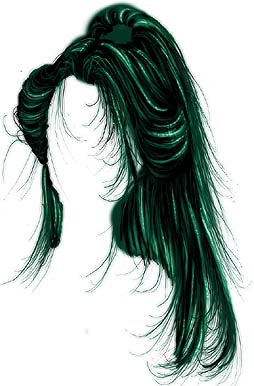
How To Make Hair With The Gimp By Carmenms On Deviantart
40+ Best Free Gimp Tutorials For Beginners (drawing & Painting)
How To Draw/paint Hair - Step By Youtube


